Write a spec. Get a narrated product film.
Describe each scene of your product video in YAML: what to click, what to type, what the narrator says. Cutshift records it in a real browser, speaks the lines with a voice that runs on your machine and cuts the film. You work in the hosted studio; the worker does the recording next to your app and keeps your media and project files on your machine. When your product changes, you record again the scenes that changed.
From spec to film in five steps
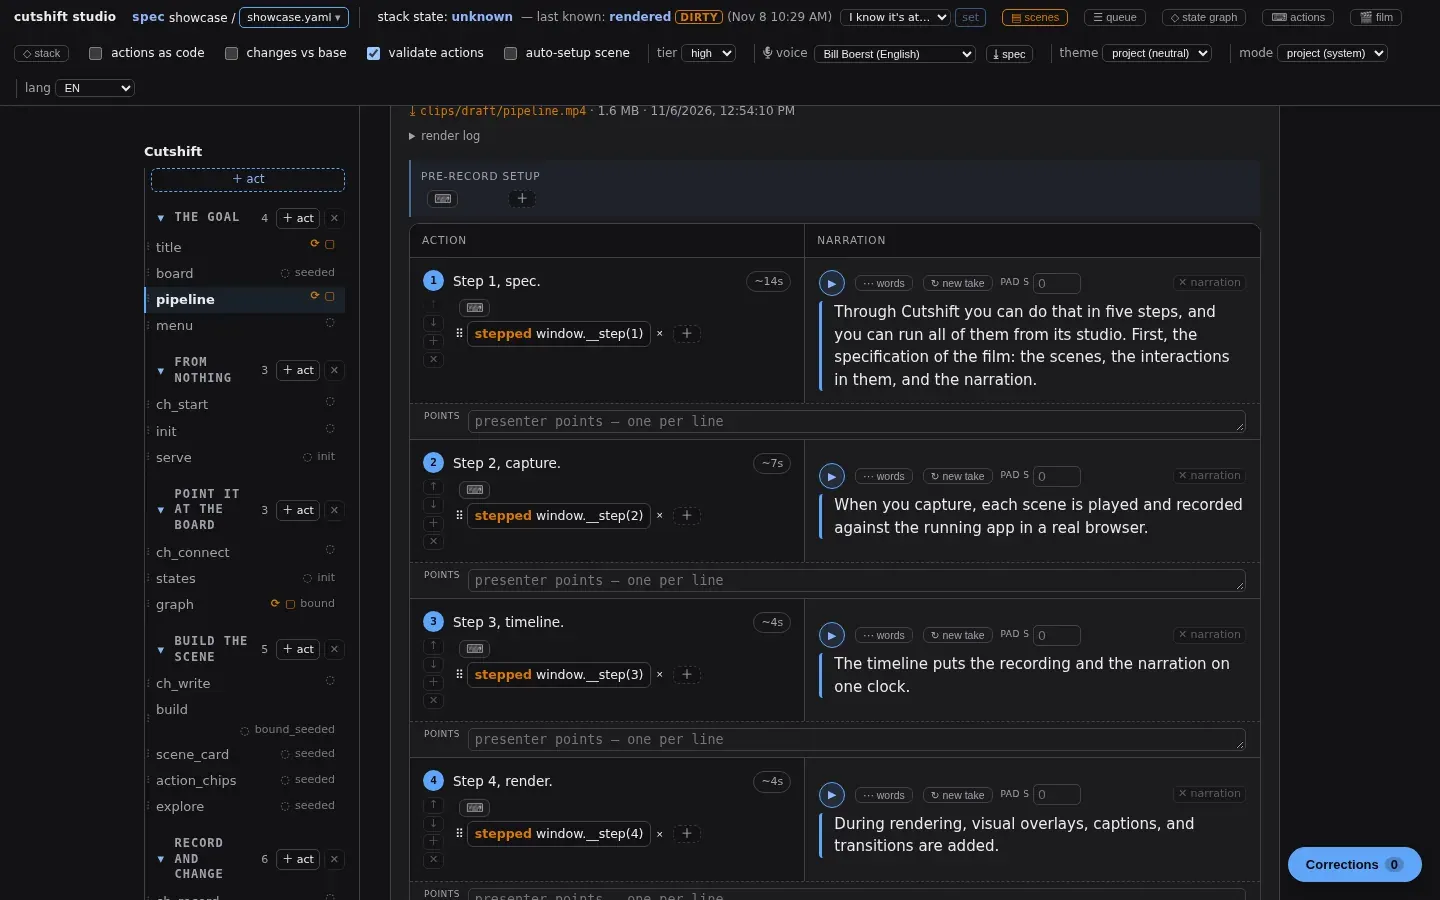
Every step writes a file you can read, diff and run again. Change one line of narration, and only that scene is spoken, cut and rendered again.
scenes:
  - id: demo_board
    surface: "a Kanban board card"
    state: none
    card: board.html
    beats:
      - desc: "Type a new task and add it."
        do:
          - "click #task"
          - "type #task Narrate the demo"
          - "click #add-btn"
          - pause end
vo: "Each beat runs its actions while its line is spoken."examples/demo: each beat runs its actions while its line is spoken.demo.yamlYou write the scenes. Each beat is a list of browser actions and one line of narration.
clips/<scene>.webmPlaywright plays each scene in a real browser and records a clean take, with a mark at every beat.
A local text-to-speech model speaks each line and times every word, so an action can start on the word it belongs to.
timelines/<scene>.otioThe take and the voice are cut into an OpenTimelineIO timeline. If a line outlasts the footage, the last frame holds.
film.mp4Remotion renders each scene with captions and branding. Cutshift joins them with transitions and a chapter per scene.
A spec is checked before anything is recorded, and every problem is named with its scene and beat.
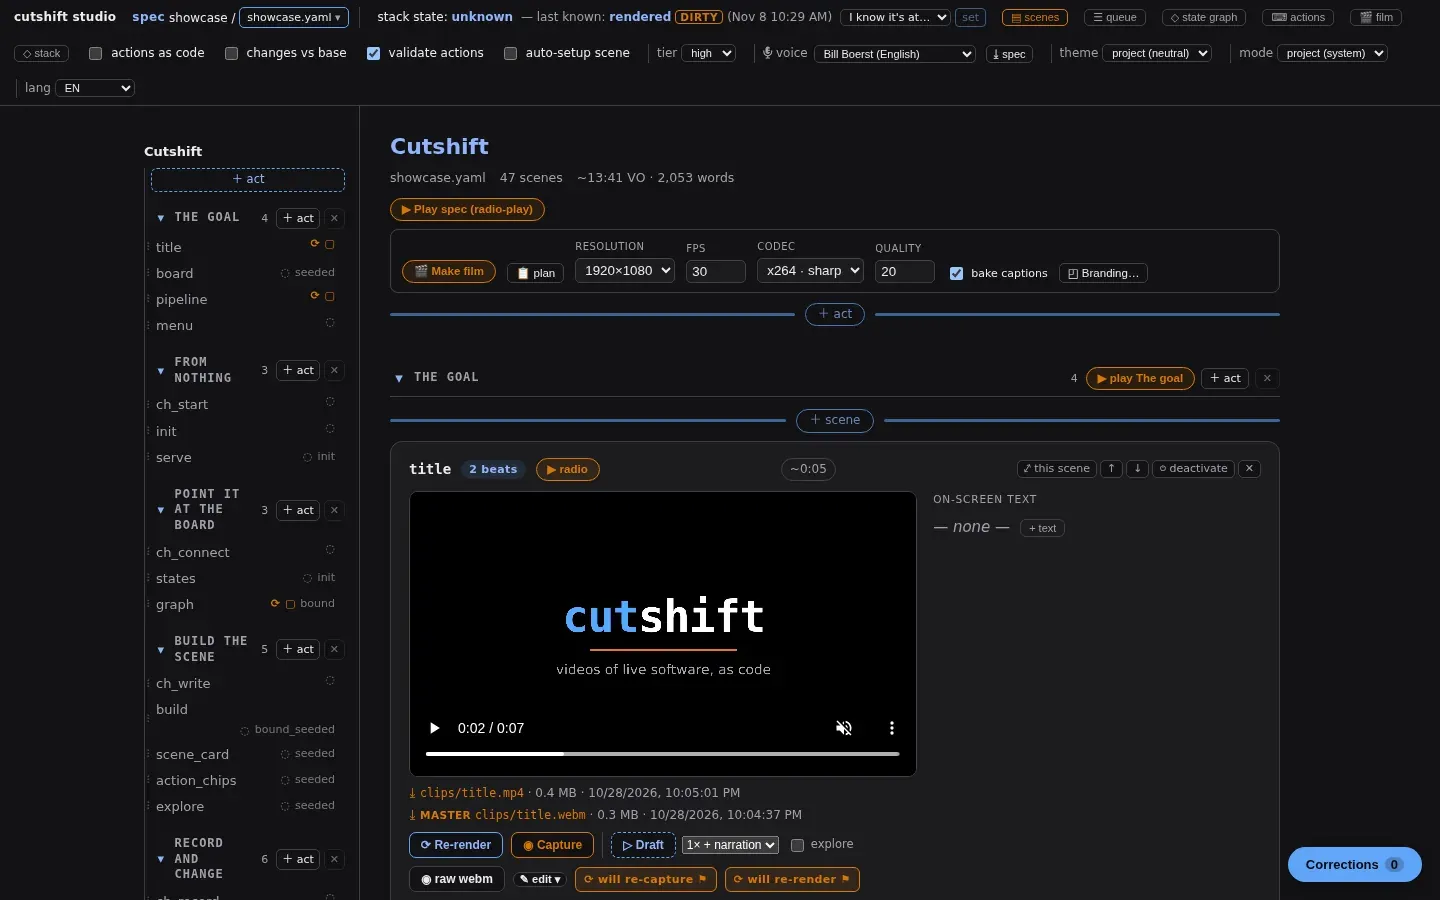
Review and correct it in the studio
The studio is hosted: you open it in your browser, and it works with the worker on your machine. It is in English and German.
- See every act and scene, and which ones need recording again.
- Watch a take next to its beats, then change an action or a line. The next render uses your corrections, and Apply to spec writes them into the YAML.
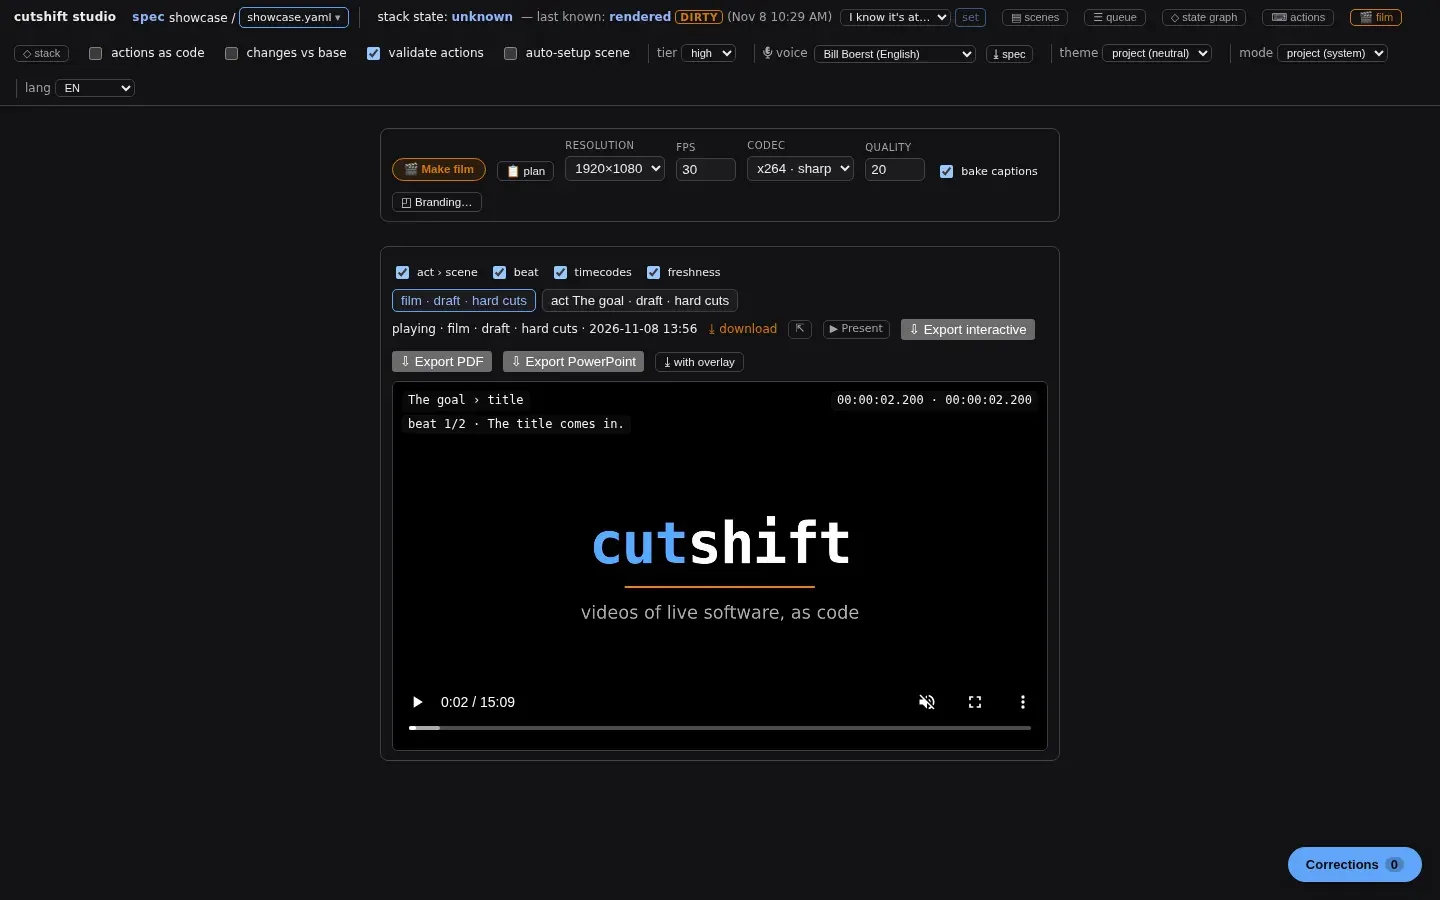
- Make the film, then present it or export it from the same panel.
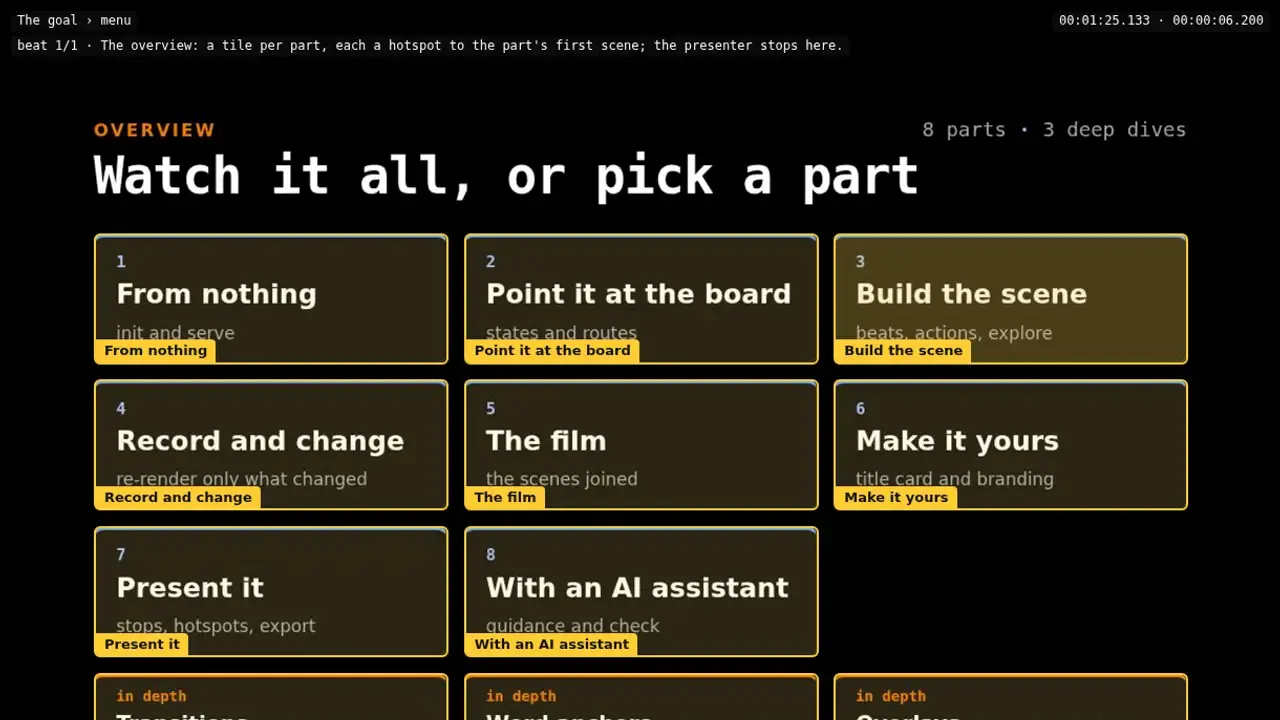
Present it, don’t just play it
A film can be presented like slides. It stops where you want to talk, and your audience can click their way through it.
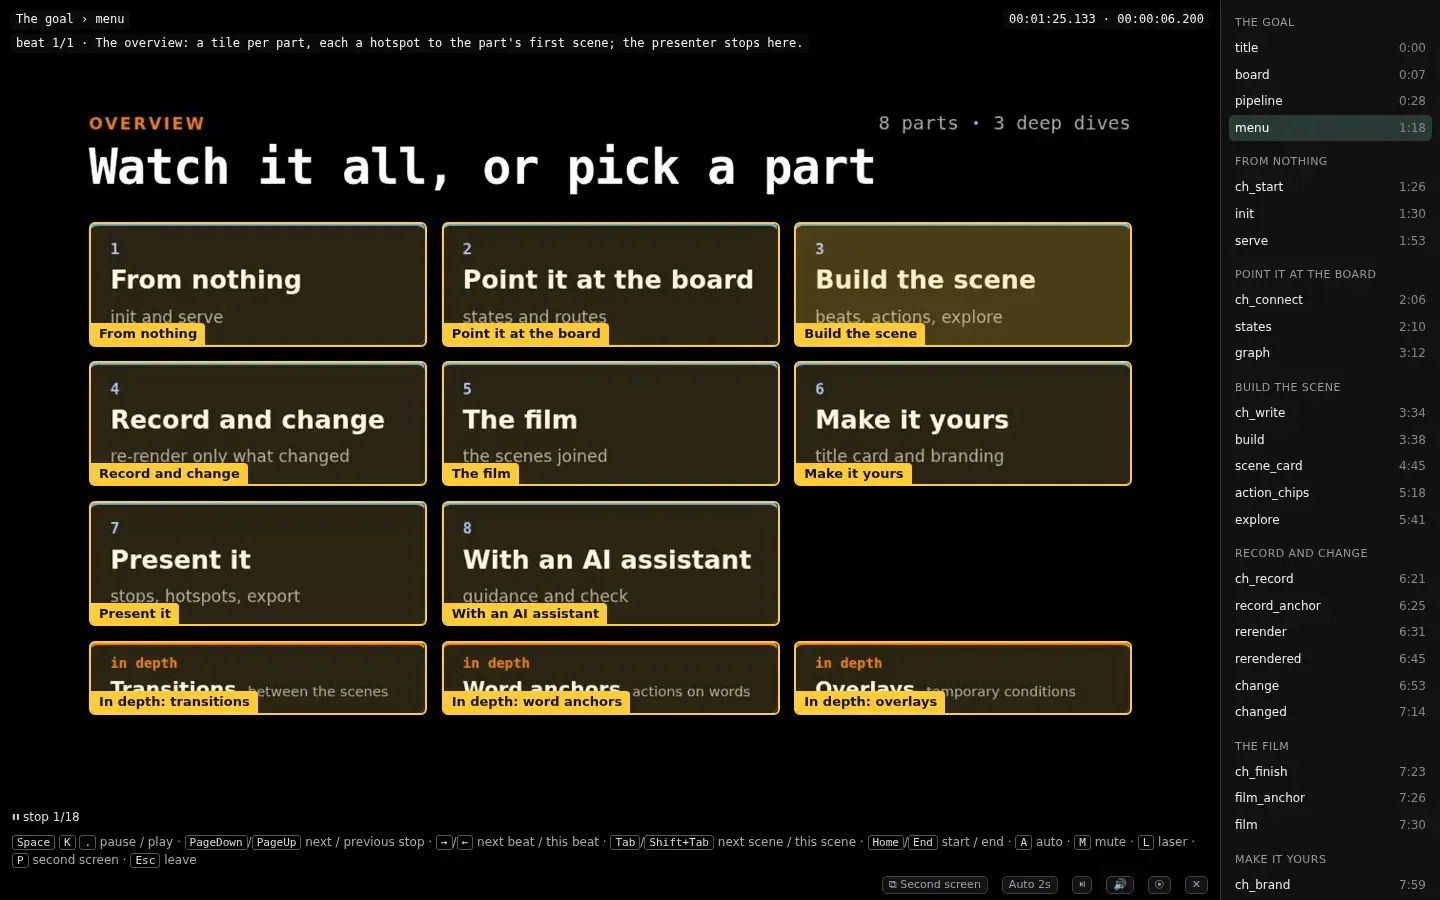
- PausesSpacePageDown
- Put
pauseorpause endin a beat. The presenter stops there; Space or a clicker’s next button plays on. - HotspotsTabEnter
hotspot <target> :: <label> -> <scene>turns a part of the picture into a button that jumps to another scene.- Second screenP
- Your audience sees the picture. You see a timer, which stop you are at, and your notes for the current beat.
- Export
- The studio exports one HTML file that plays offline, a PDF with a page per stop and its notes, or a PowerPoint deck.
Your files stay on your machine
The studio is hosted. The worker runs on your machine next to your app: it records, speaks and cuts there, and your media and project files stay there.
- Local voices
- Pocket TTS and Kokoro speak on your CPU. With an NVIDIA GPU, Chatterbox and Qwen3-TTS also run locally and can clone a voice from a recording. Azure speech is optional.
- Your media is never uploaded
- Captures, voices, timelines and films are files in your project folder. If you pick Azure for the voice, Azure gets the narration text.
- Your text stays yours
- The hosted studio sees a project’s structure and state, never the text you wrote in plain. It goes between your browser and your worker, directly or through an end-to-end encrypted relay. Optional sealed storage keeps an encrypted copy, so your team can read it while your worker is offline.
- Plain files
- The spec is YAML in your project folder. Keep it in a repository, review it in a pull request, or let a coding agent edit it.
Install the worker
The worker is the only thing you install. The studio is hosted, so there is nothing else to set up.
1In a terminal
curl -fsSL https://cutshift.hermes-technology.de/install.sh | shLinux and macOS. On Windows, in WSL2.
Installing or using the worker means you accept its end-user licence agreement.
- 2
cutshift init my-film
cd my-film
Makes a new project folder.
- 3
cutshift worker loginApprove this machine once in your browser.
- 4
cutshift worker --project <id>Runs next to your app and keeps your media and project files on your machine. Your project in the studio shows this line with its id, ready to copy.
- 5
Open your project in the hosted studio.
The installer puts the worker in ~/.cutshift without sudo, checks the download against its checksum and asks before it changes your PATH. On first use, the worker downloads ffmpeg, a headless browser and the voice tools.
Early access by invitation: the studio lets you in once you are invited. Ask for an invitation
Early access
Cutshift is open by invitation until launch, while the hosted service runs its first test. Write to us if you want to make your product videos with cutshift.
You install the worker; we send you the invitation to the studio.